How to Stop a Dripping Mixer Tap
This is a collaborative post
A dripping mixer tap is a common problem that can lead to wasted water and potential water damage over time. Contrary to a popular misconception, fixing a dripping tap is a straightforward job. That means you can easily tackle yourself with the right tools and some experience.
In this blog, I will explain a step by step process to stop dripping taps as DIY.
Understanding the Cause of a Dripping Mixer Tap
It is important to understand why your mixer tap might be dripping.
Common causes include
1. Worn Out Washer: The most frequent cause of a dripping tap is a worn-out washer. This is the reason that it will no longer create a tight seal.
2. Damaged O-Ring: The O-ring is a small rubber ring that will help in sealing the tap’s base. It can cause leaks if it is damaged.
3. Corroded Valve Seat: The valve seat connects the tap and the spout. Corrosion will most probably lead to leaks around the spout area.
4. Faulty Cartridge: A faulty ceramic cartridge can possibly be the culprit behind a persistent drip in mixer taps.
Fixing a dripping mixer tap requires the following:
- Adjustable wrench or spanner
- Screwdriver (flathead and Phillips)
- Replacement washers, O-rings, or cartridges (as needed)
- Plumber’s grease
- Clean clothes or rags
- Bucket or basin
Step-by-Step Guide to Fixing a Dripping Mixer Tap

You can fix a dripping mixer tap by following these steps:
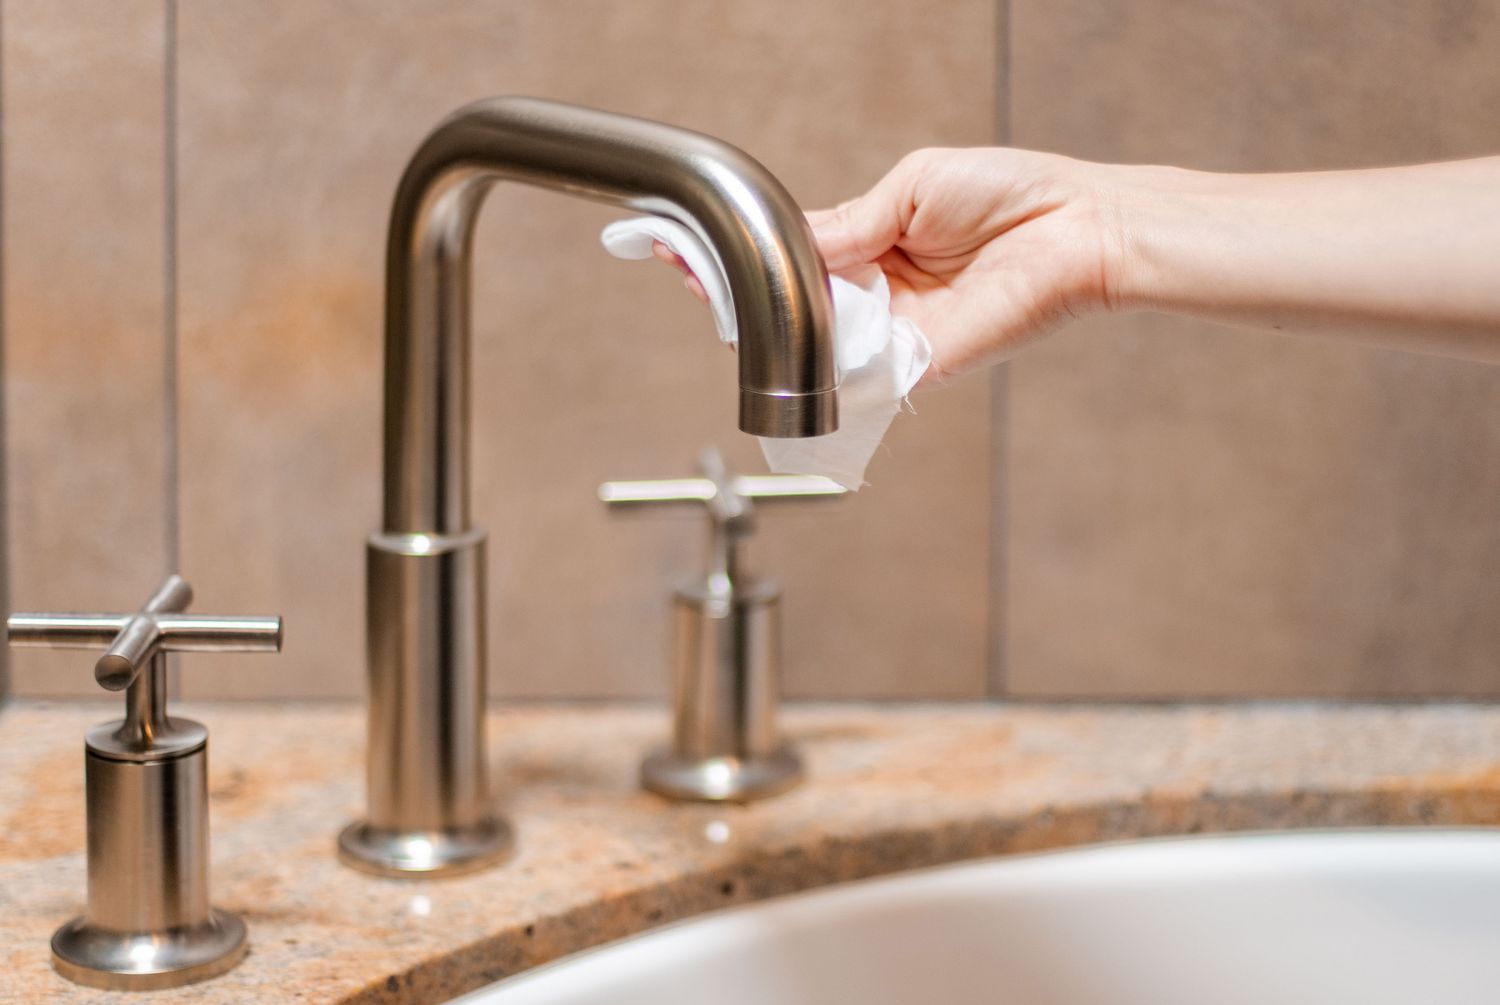
Step 1: Turn Off the Water Supply
You must make sure to turn off the water supply to the tap before you start any repair work. You should locate the shut-off valves under the sink and turn them clockwise. Does your sink not have individual shut-off valves? You might need to turn off the main water supply for your home.
Step 2: Plug the Sink Drain
Do you want to avoid losing any small parts down the drain? You must plug the sink with a drain stopper or a rag.
Step 3: Remove the Tap Handle
You need to remove decorative caps to access the handle screws, and this will depend on your tap design. You should use a screwdriver to remove the screws and lift off the handle.
Step 4: Remove the Cartridge or Valve
You will need to use an adjustable wrench to unscrew the retaining nut or bonnet afterwards you remove the handle. This will allow you to remove the cartridge or valve. You should be sure to take note of how the parts are assembled to make reassembly easier.
Step 5: Inspect and Replace Faulty Parts
You should inspect the cartridge, washer or O-ring for signs of wear or damage. Do you see any issues? You can replace the faulty parts with new ones. You must ensure that you purchase the correct size and type for your specific tap model.
Step 6: Clean and Lubricate
You should clean all parts thoroughly before reassembling the tap. You should use plumber’s grease to lubricate the new parts. This will help them fit properly and reduce wear over time.
Step 7: Reassemble the Tap
You should carefully reassemble the tap. You should reverse the steps you took to disassemble it. You should make sure that all parts are securely tightened. But you must avoid over tightening because this can damage the components.
Step 8: Turn On the Water Supply
You should turn the water supply back on and test the tap once everything is reassembled. If the dripping has stopped, your repair was successful.
If the dripping persists despite your efforts, it might be time to replace the tap. At Royal Bathrooms, you can get a wide range of bathroom tap sets that combine functionality and style, ensuring a perfect fit for your bathroom.
Maintaining Your Bathroom Tap Sets
Regular maintenance can prevent future leaks and extend the life of your bathroom tap sets. The following tips may help:
1. Regular Cleaning: You should clean your taps regularly with mild soap and water. This will prevent the buildup of limescale and grime.
2. Avoid Harsh Chemicals: Harsh chemicals can damage the finish of your taps. You should use gentle cleaning agents to keep them looking new.
3. Check for Leaks: You should periodically check your taps for signs of leaks or drips. Early detection will surely prevent more serious issues.
4. Lubricate Moving Parts: You should apply plumber’s grease to moving parts during regular maintenance. This will keep them operating smoothly.
Bathroom Tap Sets: Adding Style and Functionality
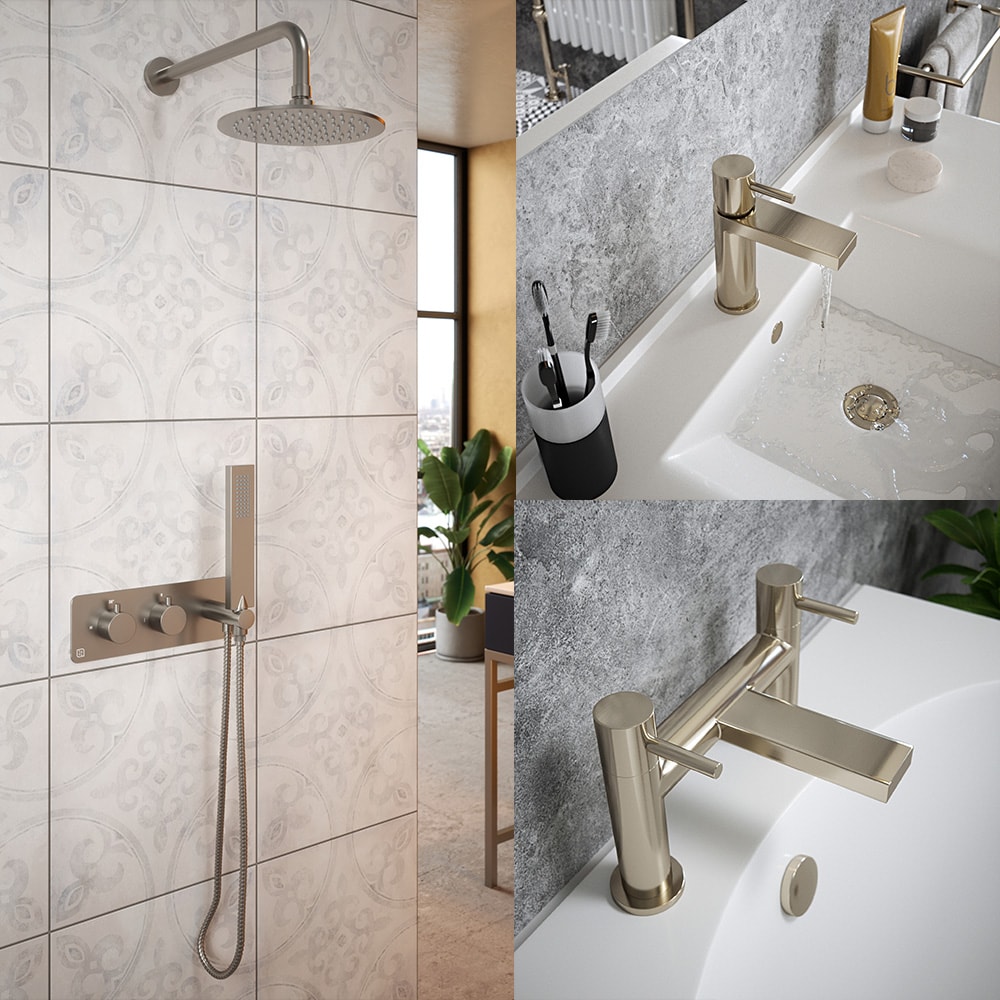
The tap set in your bathroom can provide you with both functionality and aesthetic appeal. Whether renovating or upgrading fixtures, choosing the right tap set can make a significant difference.
Types of Bathrooms Tap Sets
1. Basin Taps: These are designed specifically for sinks and are available in different styles. This will include pillar taps, mixer taps, and sensor taps.
2. Bath Taps: Bath taps come in different designs. For example, such as deck-mounted, wall-mounted and bath shower mixer tap. You can even connect a shower making a. They all will suit various bathtub styles.
3. Shower Taps: Shower taps include traditional mixer taps, thermostatic taps and modern digital shower systems.
Conclusion
A dripping mixer tap is a common but easily fixable issue. You can stop the drip and make sure that your tap functions perfectly by following the steps outlined in this guide.
Remember that even if you are tackling a simple repair or undertaking a complete bathroom renovation, the right tools, knowledge and products are key to achieving the best results.


You May Also Like

You Can Live Clutter-Free (Even When You Have Kids)
Practical DIY Projects That Will Transform Your Garage