
Practical DIY Projects That Will Transform Your Garage
This is a collaborative post
Garages often become the forgotten spaces in our homes, cluttered with random items and rarely used tools that slowly get covered in dust. However, with a few practical DIY projects, any garage can be transformed into a functional, organized, and even stylish space.
Whether your goal is to create more storage, make room for hobbies, or simply tidy up the house a bit, there are plenty of ways to make the garage work better for everyone. Here are some great DIY projects that will help turn the garage into a space that truly serves its purpose.
Source: Unsplash (CC0)
1. Install Easy-to-Build Garage Shelving
One of the most effective ways to transform a garage is by installing easy-to-build garage shelving. Shelving can instantly provide more storage and help organize items, making it easier to find what’s needed. Simple shelves can be made from sturdy wooden boards and brackets, which can be found at any local hardware store.
For those looking to store heavier items like tools or paint cans, using thicker wood or metal shelving can provide extra strength. Shelving units that go all the way up to the ceiling maximize vertical space, which is often underutilized. This DIY project is relatively simple and can be completed in just a few hours, transforming the garage from a cluttered mess into an organized haven.
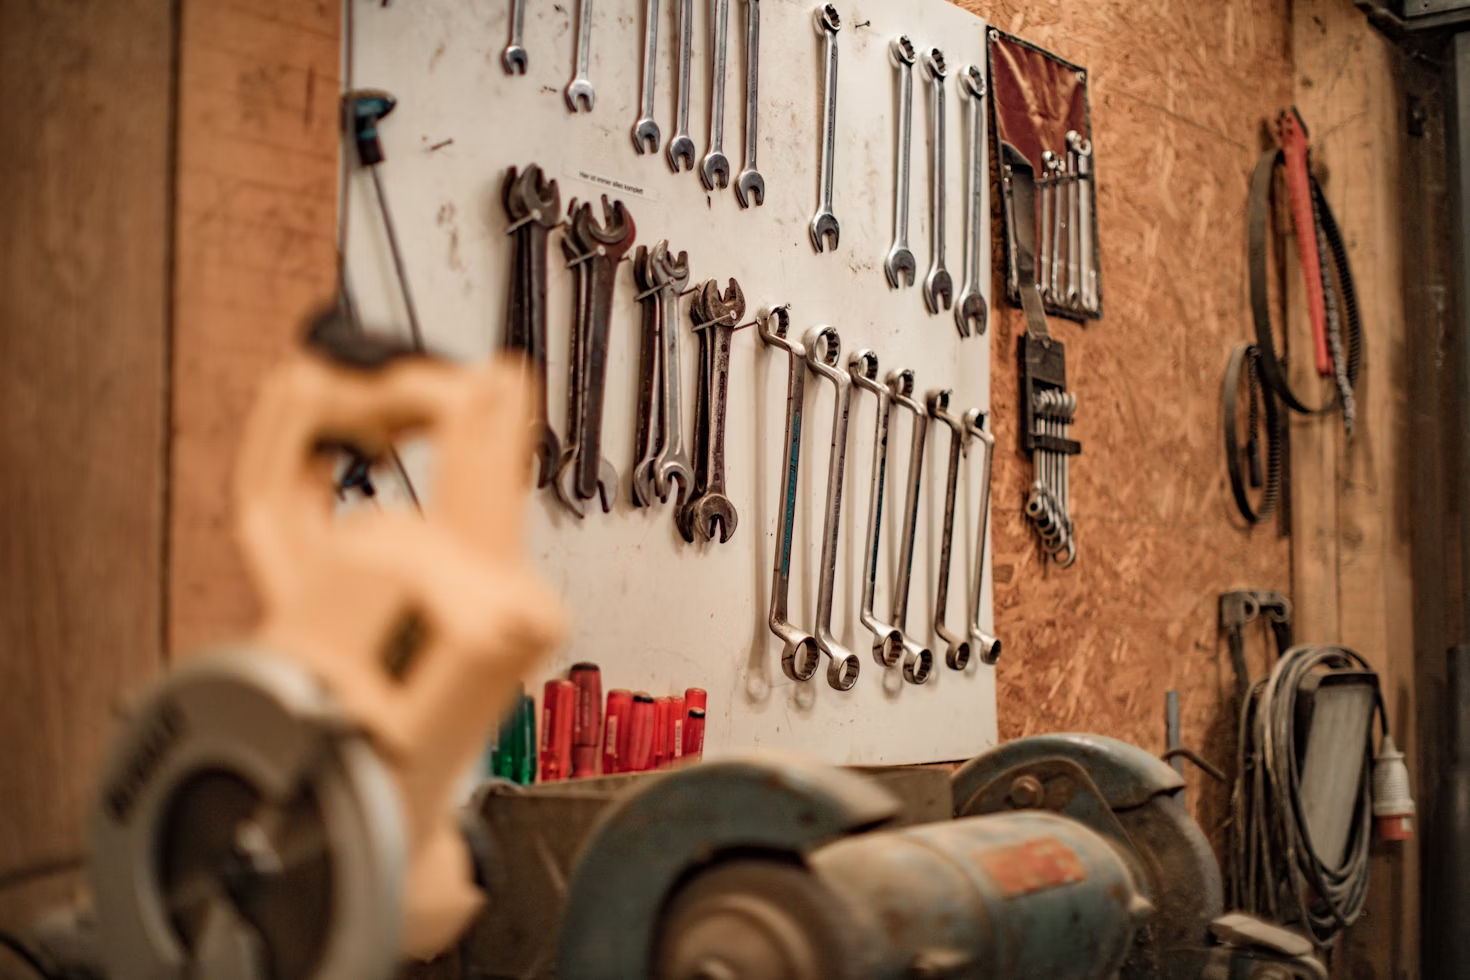
2. Create a Pegboard Tool Organizer
A pegboard tool organizer is another fantastic DIY project that can make a big difference in a garage. Pegboards are great for hanging tools and keeping them in plain sight, so there’s no more digging through drawers or searching for that missing hammer. They can be easily mounted on any wall and customized with hooks, baskets, and shelves to hold a wide variety of items.
By arranging tools on a pegboard according to size and type, it’s easy to create a system that makes sense. This not only looks neat but also helps save time when working on projects because everything is right where it should be. A pegboard organizer can be painted to match the rest of the garage, adding a bit of style while also being incredibly functional.
3. Build a Folding Workbench
A folding workbench is a smart solution for those who need a workspace but don’t have much room to spare. This DIY project involves building a sturdy bench that can be folded up against the wall when not in use, freeing up valuable floor space. It’s perfect for garages where parking space is a priority but a work area is also needed for occasional projects.
To build a folding workbench, all that’s needed are a few pieces of wood, some hinges, and a bit of elbow grease. The bench can be made to any size, depending on the space available and the types of projects typically worked on. A folding workbench provides a great way to have a dedicated workspace without sacrificing space for other uses.
4. Install Overhead Storage
When looking to maximize every inch of garage space, overhead storage is a great option. This involves installing racks or shelves on the ceiling, which can be used to store items that aren’t needed often, like holiday decorations, camping gear, or seasonal sports equipment. Overhead storage keeps these items out of the way yet still accessible when they’re needed.
Installing overhead storage is a bit more involved than some other DIY projects, but it’s well worth the effort. It requires a few sturdy brackets and some plywood or metal racks, all of which can be found at a hardware store. For safety, it’s important to make sure the ceiling can support the weight of the items being stored and that everything is properly secured. This project is a great way to free up floor space and keep the garage organized.
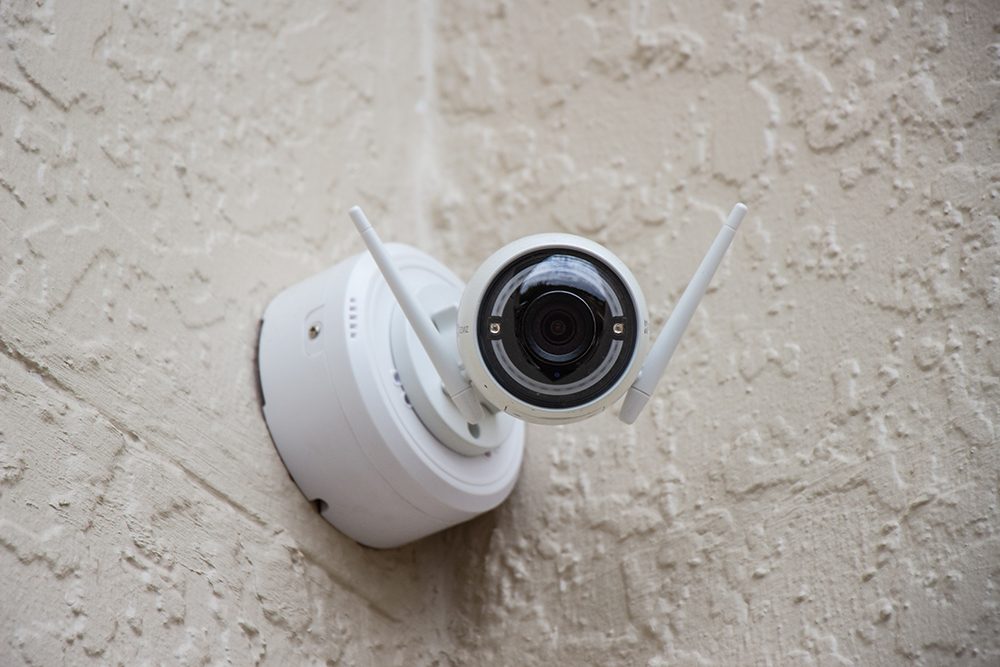
Source: Unsplash (CC0)
5. Create a Recycling Station
A garage can be the perfect place for a recycling station, making it easy to sort and store recyclables until they can be taken out. This DIY project can be as simple or as elaborate as desired, depending on the space available and how much recycling is done. At its most basic, a recycling station might just be a few bins labeled for different types of materials, like paper, plastic, and glass.
For those who want to go a step further, a recycling station can be built with compartments for each type of recyclable, complete with pull-out bins or shelves. Adding a countertop above the bins provides a place to sort items, while hooks or baskets on the side can hold bags for collecting recyclables from around the house. A recycling station helps keep the garage tidy and makes recycling easier and more efficient.
6. Set Up a Mudroom Area
Transforming part of a garage into a mudroom area can be incredibly useful, especially in homes without a dedicated mudroom. This DIY project involves creating a space where shoes, coats, bags, and other items can be left when coming in from outside. It helps keep dirt and clutter out of the main living areas and provides a convenient place to store everyday items.
To set up a mudroom area, start by choosing a spot near the door to the house. Install hooks for hanging coats and bags, and add a bench with storage underneath for shoes. A small rug or mat can help catch dirt and mud, keeping the rest of the garage clean. A mudroom area is especially useful for families, helping keep everyone organized and ready to go.
7. Paint and Seal the Garage Floor
Painting and sealing the garage floor is a simple DIY project that can have a big impact on the overall look and feel of your home. A fresh coat of paint can make a garage look cleaner and brighter, while a sealant helps protect the floor from stains, spills, and wear and tear. There are special paints and sealants made specifically for garage floors that are easy to apply and durable.
Before painting and sealing, it’s important to thoroughly clean the floor and repair any cracks or damage. Once that’s done, applying the paint and sealant is a straightforward process that can be done in a day or two. The result is a garage floor that not only looks great but is also easier to clean and maintain.
8. Add Insulation and Weatherstripping
For those who spend a lot of time in the garage, adding insulation and weatherstripping can make the space much more comfortable. Insulating the walls and ceiling helps keep the garage warmer in the winter and cooler in the summer, making it a more pleasant place to work or hang out. Weatherstripping around doors and windows helps keep drafts out and also reduces noise from outside.
Adding insulation and weatherstripping is a great DIY project that doesn’t require a lot of tools or expertise. You don’t have to be a renovation expert to get started, most materials can be found at a hardware store, and there are plenty of tutorials online to help guide the process. This project not only makes the garage more comfortable but can also help reduce energy costs by improving the overall insulation of the home.
Transforming a garage doesn’t have to be a massive undertaking. With a few practical DIY projects, it’s possible to turn any garage into a functional, organized, and even stylish space that meets the needs of everyone in the household. So, roll up those sleeves, grab some tools, and get started on transforming the garage today!

You May Also Like

Regulation of Estate Agent Advertising: Staying Within the Law

Smart Ways To Enhance The Aesthetics Of Your Garden
