3 Ways to Design the Perfect Blogger Media Kit
*This post may contain affiliate links* or products that have been sent to me for review. You can find out more in my Privacy and Cookie Policy*
This is a collaborative post
I have been blogging for around 7 years now and although it wasn’t too long before I started working with brands, it also wasn’t too long before I was asked to send over my media kit. At the time I quickly cobbled together something that vaguely resembled my stats and a little intro, but it was far from the perfect blogger media kit!
So, what is a media kit?
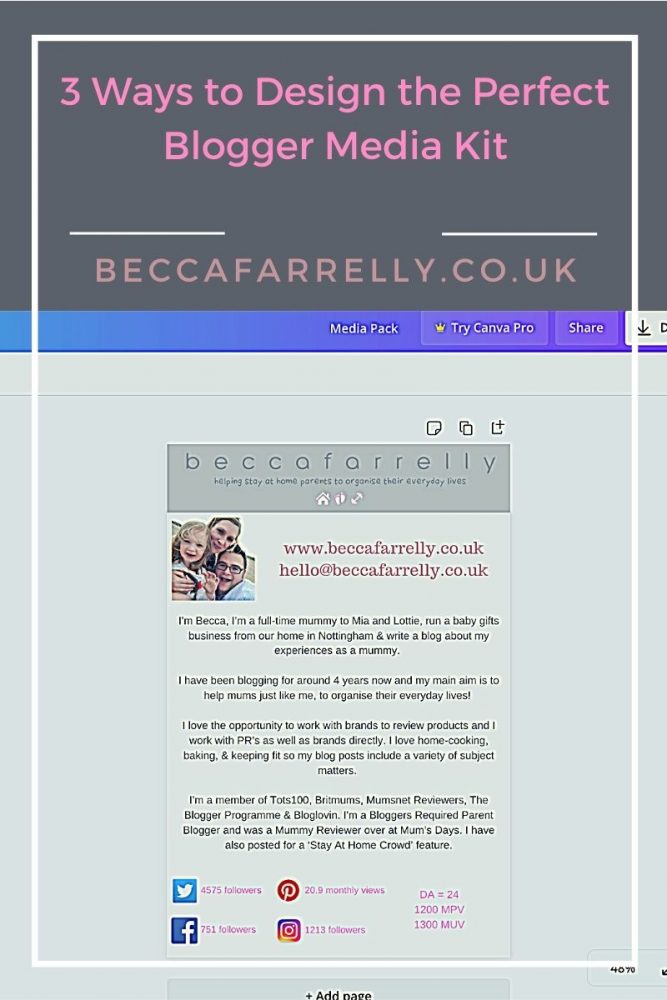
Before I get into the reasons why you need a media kit and how you can design your own, let’s start with what a media kit actually is! A media kit needs to be about an A4 size sheet basically introducing you and your blog to prospective brands. On it brands will be interested in your current stats and the amount of traffic you get to your blog. I always think it’s nice to include a photo of yourself so the brand can put a face to the blog name! You want the info to be short sentences and nice to look at as a brand faced with a wall of text probably isn’t going to spend time reading it!
So why do you need a media kit?
As the blogging industry has grown, so have the opportunities to work with brands (which is amazing!) however you also now need to work twice as hard as a few years ago to stand out from the crowd and show what you can do to. I don’t get asked for my media kit very often but it’s really helpful to have one for those time you do get asked for it! I also find it acts as a great place to update your stats once a month and see how your blog (and business) is growing!
So where do you start?
There are a number of ways you can start designing your media kit and I would recommend not getting too bogged down in the detail. It’s fine to spend 4 hours designing the ‘perfect’ page but if it lacks the detail that brands are actually looking for, it’s been a waste of time! Take a look at other bloggers media kit to get some ideas and then just with your stats (you can jazz it up later!).
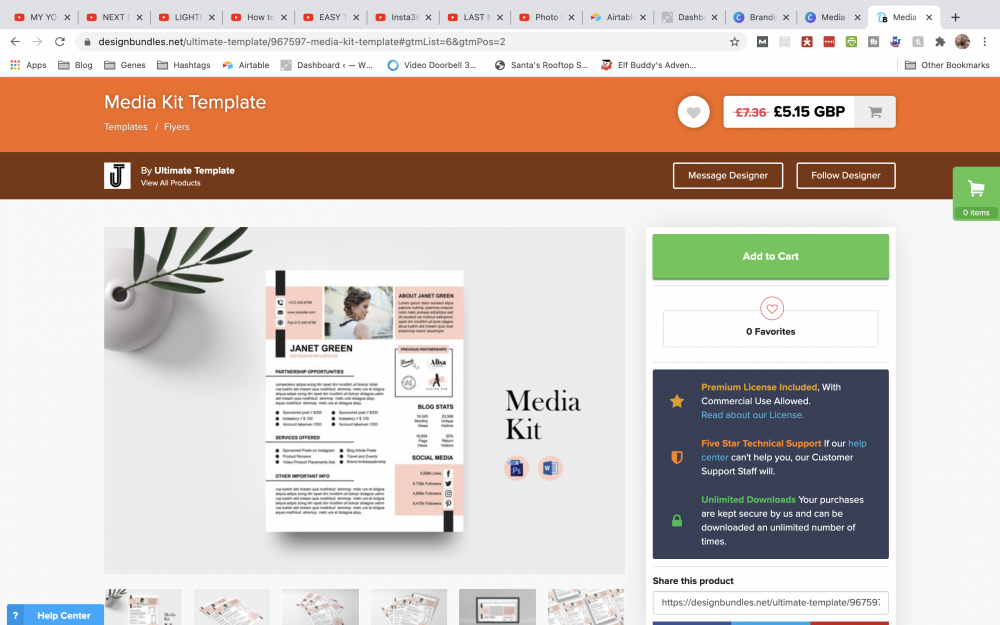
The easiest way to start designing your media kit is by using a template. These give you some great design ideas and are the perfect place to get started. Design Bundles have some amazing templates for you to use and they are really reasonably priced too. You can very quickly purchase and download your chosen template, add in all the relevant blog information to the template and then just save it. Once you’ve done that, it can be really quick to change the colours to suit your blog and that’s it, you’re done!

I use Canva for pretty much anything to do with my blog and social media and they have a media kit template section on there too. Again, I would recommend starting with a ready-made template first to help you work out what to put in it and how to lay them out. I created my media kit on Canva, and it didn’t take me too long. Canva gives you the opportunity to go to town on your colours and fonts! It’s always good to use your brand colours in your media kit to tie it into your blog and social media channels.
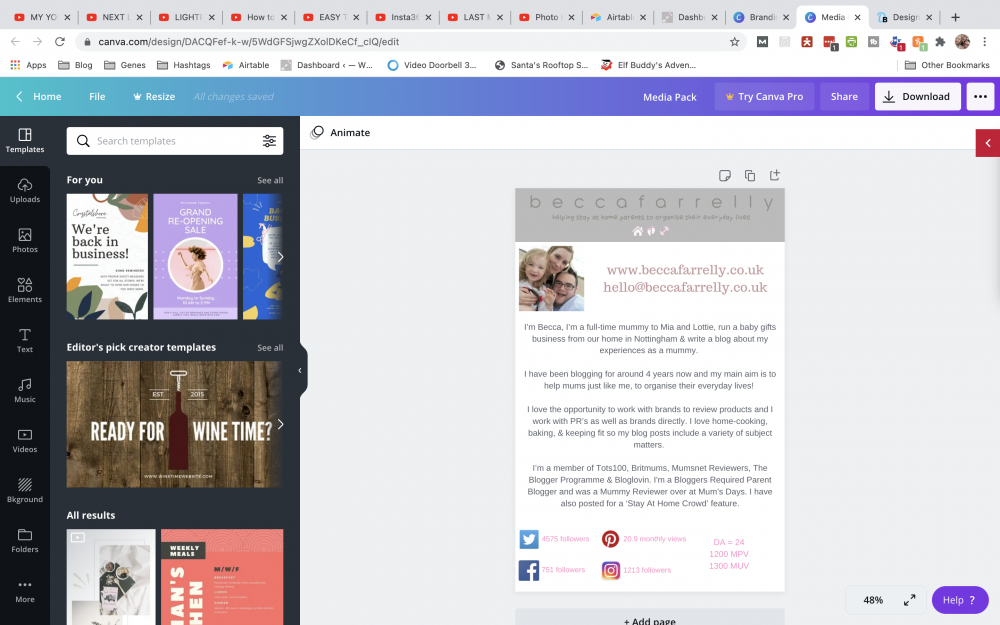
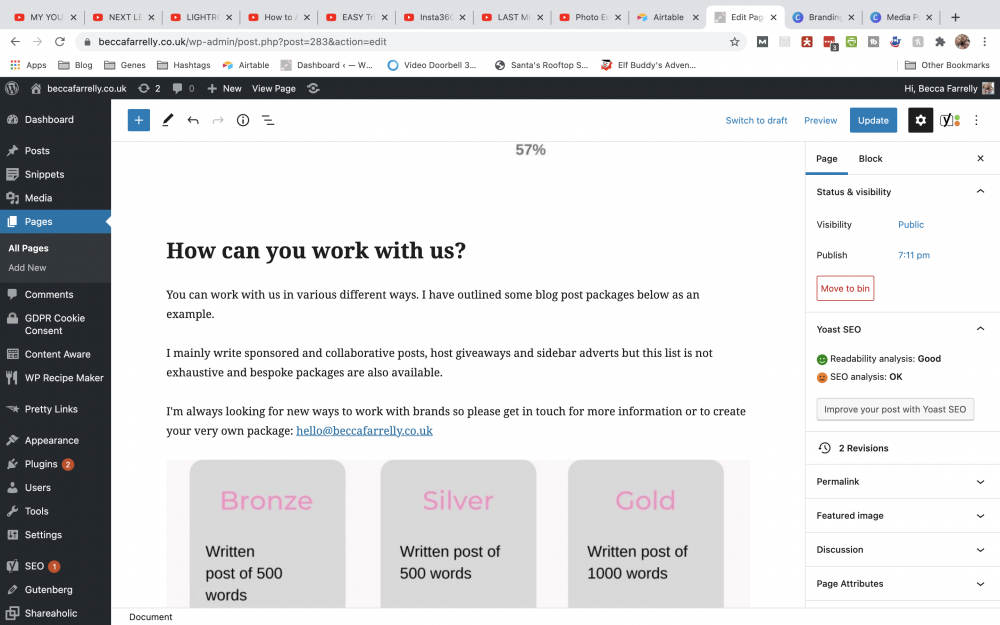
If you’re confident with designing and layouts, what you can do is just have your media kit as a page on your blog. This will need a bit more designing but can be easily created on a blank page. If you have a WordPress site, use Gutenberg blocks to make the process easier. The benefit of doing it this way is that you can design it from scratch in whatever layout and colours you want to. Then just publish the page and point any brands to the page when they ask for your media kit. It can also be available to anyone that wants to look at your ‘work with me’ page too.
Design Bundles are currently running a fab giveaway until the 26th January 2021 to win £50 credit to use on media kit templates and a 4-month premium subscription to Canva! So why not enter and be in with the chance of winning everything you need to design your perfect blogger media kit starter pack?!
a Rafflecopter giveawayWhat will you use to design your Perfect Blogger Media Kit?


